


Teaching Tips & Tricks | Jan 16, 2015
The top 3 questions teachers ask me about classroom tech

By Angela Watson
Founder and Writer
The top 3 questions teachers ask me about classroom tech
By Angela Watson
There are a handful of questions I can count on being asked at least once at every school in which I do instructional technology coaching. I’m sure many of you have the same issues, so I thought I’d share the answers here on the blog for you all, too!
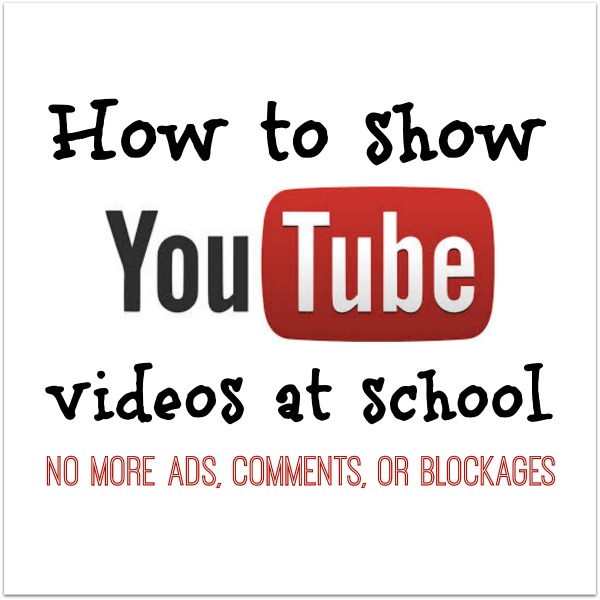
How to show YouTube videos at school
The question:
My school doesn’t care if I show educational video clips from YouTube, but the district blocks the site so the kids can’t use it–is there a way I can still show YouTube videos to the class? How do I ensure my students don’t see the inappropriate content that’s related to the video?
Working around a YouTube block at school:
YouTube’s terms of service state that you can only download videos “if you see a ‘download’ or similar link displayed by YouTube on the Service for that Content.” Though there are many free online sites and browser extensions that allow users to copy/paste a video URL and then download the video, it is illegal to use those services for YouTube links.
Try to see if you can find the video you’re looking for on Vimeo, TeacherTube, SchoolTube or another online video sharing site that does permit videos to be downloaded. You can then save the video in Dropbox or Google Drive so you can access it on any device. If the video was created by a company or organization, see if you can find the video on their website, or email them to ask about your options for classroom licensing.
Avoiding questionable content while showing YouTube videos:
If YouTube isn’t blocked at your school and you want to play video clips, you can improve the YouTube viewing experience in a couple of ways. Viewpure will let you show YouTube videos without ads, comments, etc if you’re worried about questionable content popping up. SafeShare is another great option. If you or students want to upload your own videos, try SchoolTube or TeacherTube, which are designed to be safe for use in schools.
Also, talk to your administrators about using YouTube For Schools, which allows you to customize what YouTube content can be shown. The site explains: “School admins and teachers can log in and watch any video, but students cannot log in and can only watch YouTube EDU videos plus videos their school has added. All comments and related videos are disabled and search is limited to YouTube EDU videos.”
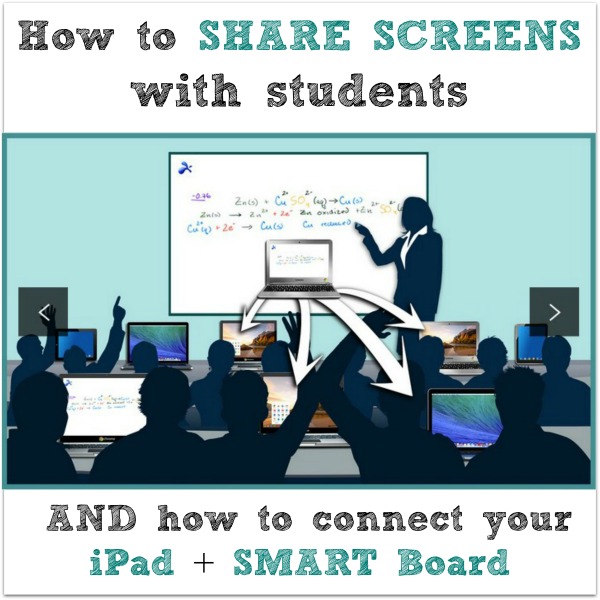
How to share computer screens between the teacher and students + connect iPads to the SMART board
The question:
I want what’s on my computer screen to show up on my interactive whiteboard (or on my students’ devices.) I also want my students to be able to share the work on their devices with the whole class via our SMART Board. How can I connect our various devices?
Connecting the iPad to the SMART Board
The iPad 2 and later models will allow you to connect using an Apple VGA Adapter or Apple Lightning to VGA Adapter (depending on which iPad model you have.) Connect one end of the adapter to the iPad and the other to your SMART Board, and whatever’s on your iPad will show up on the board. Of course, this means your iPad is literally tethered to your board, but some teachers don’t like to mess with apps and mirroring, and so this is a simple solution. If you have a budget for tech, a step up from this is Apple TV, which will let you connect the iPad to your LCD projector wirelessly, meaning whatever’s on the iPad screen now shows up on your interactive whiteboard without any cords.
The option I’ve found most teachers prefer is to wirelessly connect the iPad to the computer that is connected to the SMART Board. (I know, right?) This is usually done via an app that lets you mirror (or stream) what’s on your iPad to the computer that is typically attached to your SMART Board. Reflector offers a free trial; AirServer is good for Mac and now for PC, too; Doceri is free and worth checking out.
Keep in mind that for right now, the iPad-SMART Board connection is a one way street. Everything you do on the iPad can show up on the interactive whiteboard in real time, but you can’t do the reverse (interact with your whiteboard and have it show up on the iPad.) Again, I know.
Connecting students’ devices and yours to one another and/or the interactive whiteboard
I like Splashtop’s Mirroring 360 because it not only works as a mirroring app for an iPad to a SMART Board, but also allows you to mirror screens from other other devices.. and you don’t even need an interactive whiteboard!
You can have students working with a variety of tools (iPads, computers, Chromebooks, etc.) and all they have to do is select the teacher’s computer from the menu and start mirroring their screen to share their work with the class. Connect the computer to an LCD projector and the whole class can see without the need for a SMART board. You can also use Splashtop Classroom to share ANY application with students’ Chromebooks from your PC or Mac.
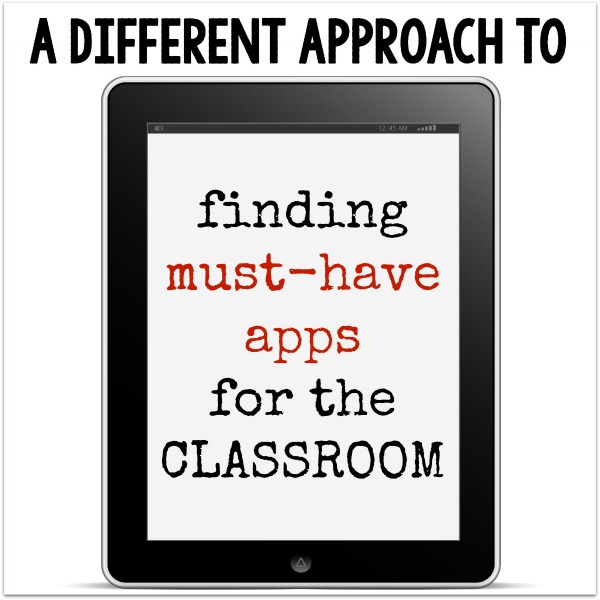
Must-have apps for literacy, math, and other content areas
The question:
We finally got some iPads! What are some good free apps or websites for teaching math? ELA? Science? Social studies?
Focus on curation and creation apps
You might not like this answer, but here’s the thing with apps–they’re not like websites. You can go to one free website and have kids practice hundreds of different skills, but there are very few free apps that are that versatile. You’ll either end up spending big money on robust apps, or downloading dozens of free and cheap apps for every concept you teach. It’s extremely time-consuming to look for apps and test them out, and you can easily spend hours on this task for a single unit of study.
So, rather than looking for a single subject app, I recommend downloading a few great apps that allow kids to create content and share their ideas. These are apps that can be used all throughout the year for different subjects and grade levels. You can get tremendous value from your iPads with just one screencasting/audio/video creation app and maybe an an annotation app for older kids.
For example, instead of looking for an app that helps kids practice elapsed time, download Show Me and have kids create elapsed time problems for one another to solve and explain, or download Voicethread and have students use pictures, drawings, and video to share their strategies for determining elapsed time. These kinds of apps are open-ended, versatile, and allow you to differentiate instruction easily. They’re also far more engaging and rigorous for kids.
Here are more of my suggestions for free apps for digital storytelling and sharing kids’ ideas. If you’re willing to spend $2.99, I recommend Explain Everything, which lets kids create tutorials easily and quickly.
Get up-to-date recommendations from a handful of great app curation tools
If you just Google the type of app you’re looking for (or run a search in iTunes), you’re likely to find way too many results, most of which aren’t very good. I suggest subscribing to a couple of app recommendation sites that are designed for educators. The creators of these sites review apps regularly, suggest classroom uses, and give honest feedback about how well the app works with students. Subscribe to their blogs or emails lists, and be on the lookout for recommended resources that meet your needs.
I trust Common Sense Media implicitly and love that you can sort the app reviews by age, device, skills, and more. I also like APPitic. I highly recommend that every teacher follow Richard Byrne’s Free Tech for Teachers blog, which is a great way to find out what’s new and notable for all of ed tech, not just apps. There are hundreds of app curation sites and tools, of course, but I’ve found that these 3 resources are enough to get most teachers started without being immensely overwhelming.
Remember that more is not necessarily better
There is simply no way one person can learn about all of the amazing apps that are out there…and you don’t have to try. Pick one or two that you’re interested in and that you think would give you the most bang for your buck. Play around with them and experiment with different ways they can work with your curriculum.
Don’t beat yourself up by thinking of all the hundreds of thousands of apps that are out there and you haven’t yet explored. Of course you’re missing out on things! If you lived a thousand years, you wouldn’t have time to learn every app that’s out there right now. But the only apps you need to learn are the ones you need. That might only be a handful for right now. Add slowly to your tech tool box over time, and use your students’ input to refine and expand your app selection.
How would YOU answer these questions about classroom technology? Please share any additional resources, tools, or strategies that you frequently recommend to others.
Angela Watson
Founder and Writer
Sign up to get new Truth for Teachers articles in your inbox
Discussion
OR

Join our
community
of educators
Share ideas or get advice via our social channels.


Thank you! This was perfect timing for me. I’m currently waiting to find out if my kinder classroom was chosen by my district to pilot 1:1 iPad minis. I’m pinning now so I will have it to reference later.
Thanks, Tracy! I hope you get the iPad minis. That would be fantastic for kindergarten! I’ve seen other K classes who have class sets, and they use them for about 30 minutes per day so the rest of the time can be spent with hands-on learning. It’s really worked well.