Welcome to my collection of third grade classroom photos! These photos of a classroom in Prince George’s County, Maryland (just outside of Washington, D.C.) were taken by me in 2004. I’ve kept the text exactly the same as when I first uploaded them to this website so that it feels like you’ve just walked into my room and are taking a tour!
Classroom pictures
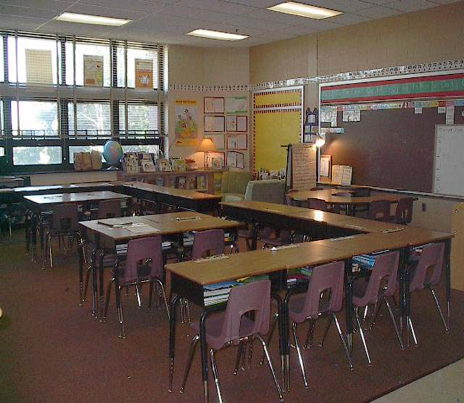
Here is the new view at the classroom entrance! You are looking towards the back of the room. (The Classroom Photos 2003 page gives a better overview of the basic structure of the room). Here my desks are in a sort of horseshoe, and when new students came in I started adding them to the center in clusters. It looks crowded in this picture, but it works REALLY well because I can see everyone’s faces and easily move around to help kids. It is hard to set up 24 desks and still have room for all the areas I have in the back of the room, which most teachers at my school don’t have. This set-up also leaves me with a large space in the front of the room for the kids to sit on the rug while I teach, or to act out a skit, present a group project, etc.
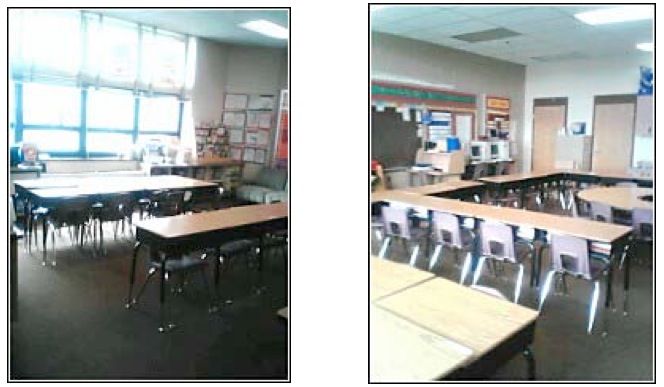
Here’s an arrangement I tried at the end of the year. Everyone who earned A’s on their Weekly Evaluations got to sit together and choose their own partners. I let them choose the desk set-up, too (in pairs, large groups, long line, etc.). The rest of the class had their seats chosen by me. This was a HUGE motivation for the kids and so easy to implement. More importantly it provided a simple and direct reward: do your work, privileges are awarded. Here you can see the 6 kids who earned A’s (usually it was about 6-12 kids) with their desks pushed together in the left picture; the rest of the class sat in a horseshoe shape. I moved my reading table to the middle of the horseshoe desk arrangement which made it easy to keep an eye on the class while I taught small groups. It also provided a great space for those kids who were playing around at their desks during whole group instruction: I just moved them up to the reading group table.
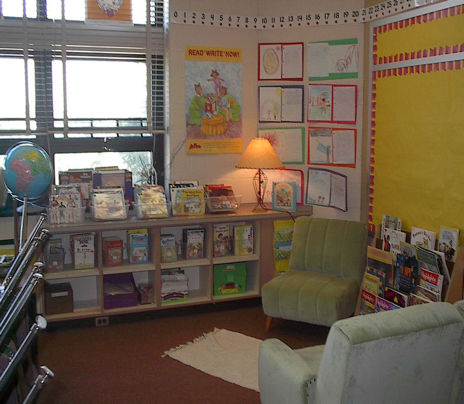
I put all of my book bins in and on the window shelves this year. Each bin and shelf are numbered so that the children can put the books away neatly each time they get them out. The lower shelves have all of my reading group supplies.
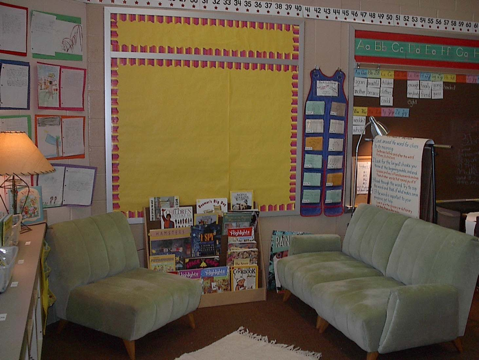
Here is our reading corner. This is a vintage sectional sofa my grandmother bought when she and my grandfather got married in 1962. They had it recovered in the seventies in the lime green velour you see here! I have always loved this furniture and was thrilled when she let me have it for the classroom. The kids are taking excellent care of it (they brainstormed rules for using it). I separated the middle piece to make a chair. The kids sit on the couch four in a row–soooo cute!!
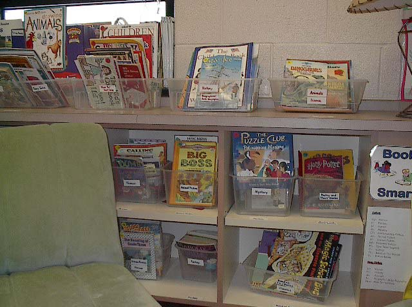
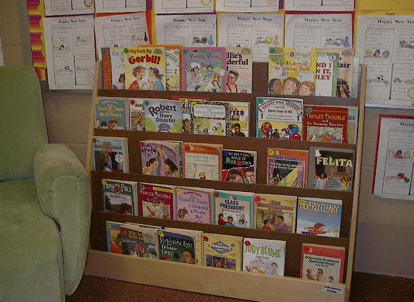
Here are two more pictures of the reading area.
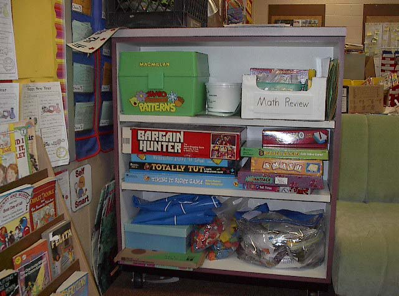
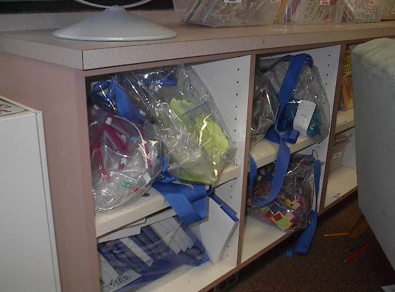
The above two pictures show math game and manipulative storage.
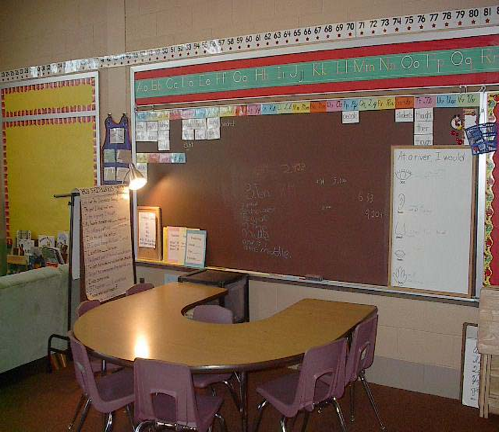
Here is my reading group table, which I moved from the corner so I could access the chalkboard. Our word wall is at the top. Each word is on a laminated chart strip with a magnet on the back so I can take it down as needed. I also write seasonal words in chalk for temporary needs. Right now the words ‘hundred’ and ‘thousand’ are written on the word wall because we are doing place value. I bought the huge wipe-off board you see for less than $10 at Wal-Mart–not all of the locations have them, though, so check around. The little black cart hidden behind the table has the stuff I need for teaching groups, and is on wheels so I can push it out of the way as needed.
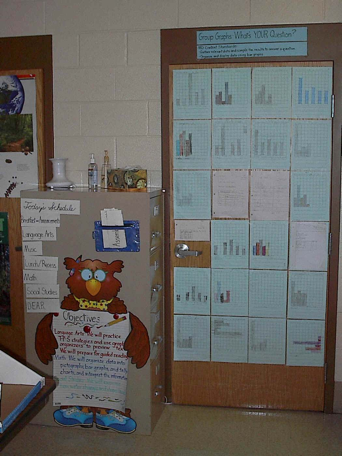
I use the side of my file cabinet to display a magnetized version of our class schedule and a wipe-off chart with our objectives on it. We are required to have daily objectives for each subject posted in the classroom. Because I only have a few bulletin boards (and they’re all too tiny to accommodate the whole class’ work), I use closet and bathroom doors to display student assignments.
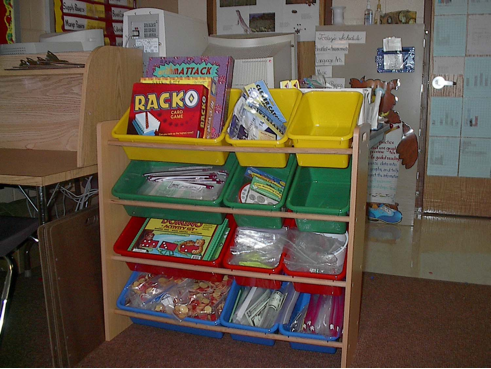
Over here I store the materials kids use when they work independently around the room. In addition to the study carrel where they can sit, there are small clipboards, large art clipboards that two kids can both fit their papers onto, and a table top with no legs. The kids can lay on the floor and write, which is not only more comfortable for some of them, but has been shown to have a positive effect on handwriting development in children who struggle with that area. There are also TV trays the kids can move around. The large organizer in the center of this picture is something I actually spent some money on! A large chunk of my self-imposed $100 budget for the year was spent on this $29.95 organizer from Big Lots. (I have also seen them at Target.) The top shelves have math centers and the bottom ones have manipulatives. When the kids go to centers, I tell them which color bins they can choose from that day.
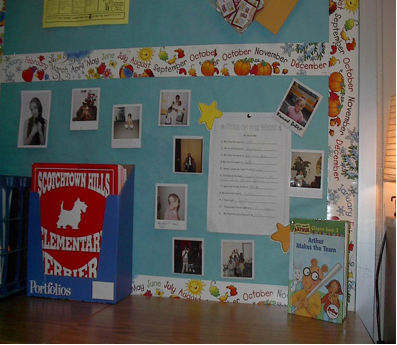
I finally made a Star of the Week board! Each week a child sends fills out a form about themselves and brings in photos and a favorite book. Their items are displayed here on the Welcome bulletin board by the classroom entrance. By the way, the folders you see here are the Friday folders the kids’ papers come home in. The container the folders are kept in was FREE from Wal-Mart (a box holding back-to-school supplies!).
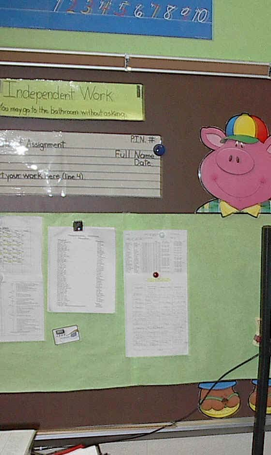
I put the TV cart in the corner by the window this year (to the right in this photo) and can’t figure out why I never did it that way before. I use all the space below the T.V. to keep my junk: the VCR shelf holds a lamp, educational videos and fun videos we watch for A/B reward (similar to Fun Friday), and the flowered index card box I keep game ideas in. The bottom shelf holds a container with my stickers, magnets, Velcro, and artsy-craftsy stuff, along with the children’s portfolio files. I also keep some of my filing down there. I have three file folders for each subject: class work, homework, and tests. Whenever the kids turn in papers (using the baskets on the little desk), a class helper removes them from the basket and files them into the appropriate file folder for me to grade. At night I take home the folders with papers in them so I can grade them. This is also handy during assemblies, staff meetings, etc. (oops, did I say staff meetings?), when I can just grab a few folders to grade during down time. This photo shows a ‘bulletin board’ I made on my chalkboard to display papers for my reference. You can also see the sample page header and the ‘independent work’ sign that lets the kids know when they can use the bathroom (see the Routines page for more info).
More of My Classroom Tours

Classroom Photos After 2009
Classroom Photos 2009
Classroom Photos 2008
Classroom Photos 2007
Classroom Photos 2006
Classroom Photos 2005
Classroom Photos 2003
Classroom Photos Before 2003
Check Out Other Teachers’ Classroom Photos
Want to see photos of Other Teachers’ Rooms? I’ve collected classroom pictures from educators in all different parts of the United States! Learn their tips for desk arrangement, organization, and more.
Please Share YOUR Classroom Photos!
Would you like to have your pictures featured here? I’d love to add your classroom pics to the Other Teachers’ Rooms page! Contact me via email with the link to your Flickr, Tumblr, Picassa, blog, Pinterest board, or even a public Facebook album! Don’t worry about making sure everything looks perfect: we want to see REAL classrooms that are used by REAL students every day! International teachers–we’d especially love to see what your rooms look like!

Angela Watson
Founder and Writer
Sign up to get new Truth for Teachers articles in your inbox
OR

Join our
community
of educators
If you are a teacher who is interested in contributing to the Truth for Teachers website, please click here for more information.


