Let’s be real–the majority of elementary school teachers are most passionate about subjects other than science. For many, science is just something else on the plate that there isn’t time to teach. To compound the problem, many elementary teachers find it difficult to make science interesting and hands-on when they don’t have a firm grasp on the scientific processes themselves. I must confess that I myself fall into that category, so I can totally relate. But I’m here to share good news–these issues don’t have to prevent you from providing quality science instruction to your students! On this page, you’ll learn how to get kids passionate about science even when you have limited time, resources, or background information.
Sample science unit activities
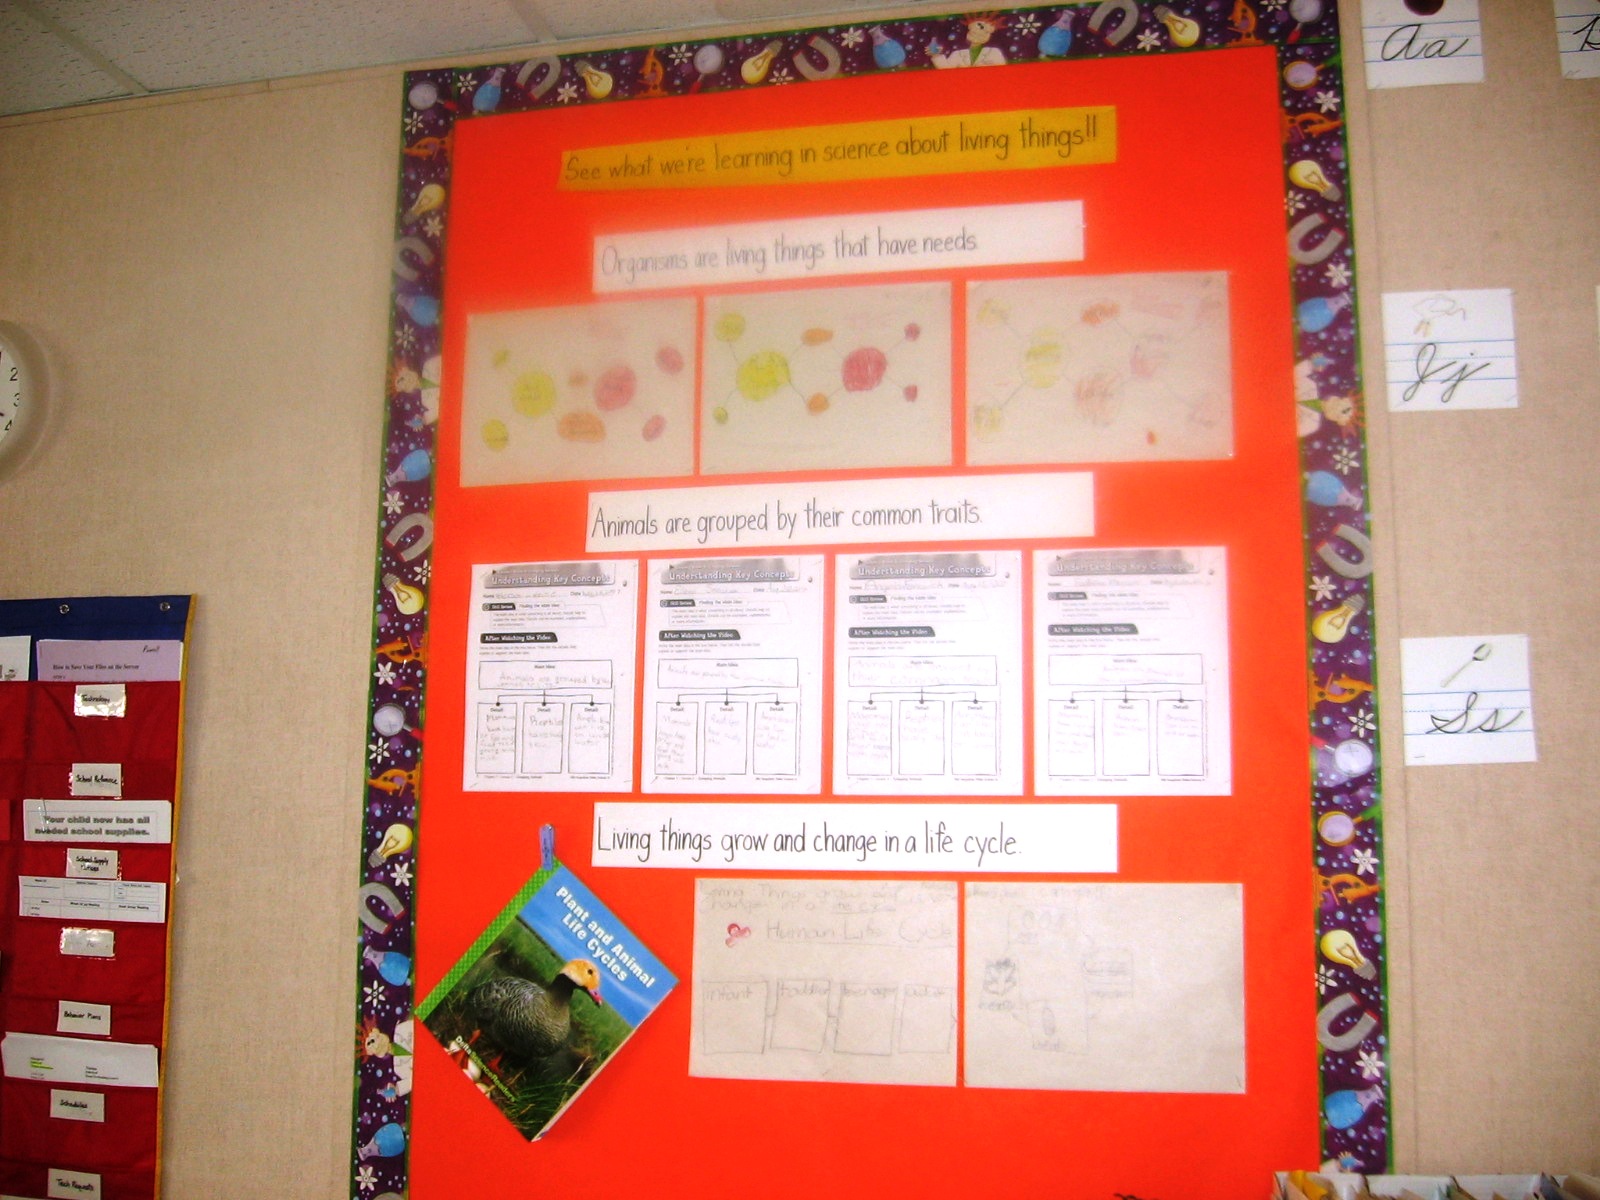
(Click any photo to enlarge) When implementing a science unit, I typically set up a bulletin board that summarizes what we’re learning and serves as a reference point for kids. I write the key skills for each chapter on chart strips, then display a few samples of student work under each chart strip after we learn it. By putting all the chart strips up first, the kids can monitor our progress in the unit and anticipate what we’ll be learning next. This is a really simple and quick way to create a useful display for both teacher and student reference.

This bulletin board shows a sample of the activities my students did during our ecosystems unit, the last one for this particular school year. I had very little bulletin board space in that classroom, so the display had to be much smaller than the one in the first picture. Here, I used a permanent marker to write captions directly on the paper because I had planned to take the paper down after the unit. The captions under the various student projects reminded the children about what they have studied throughout the unit and served as a great explanation to visitors of what we learned.
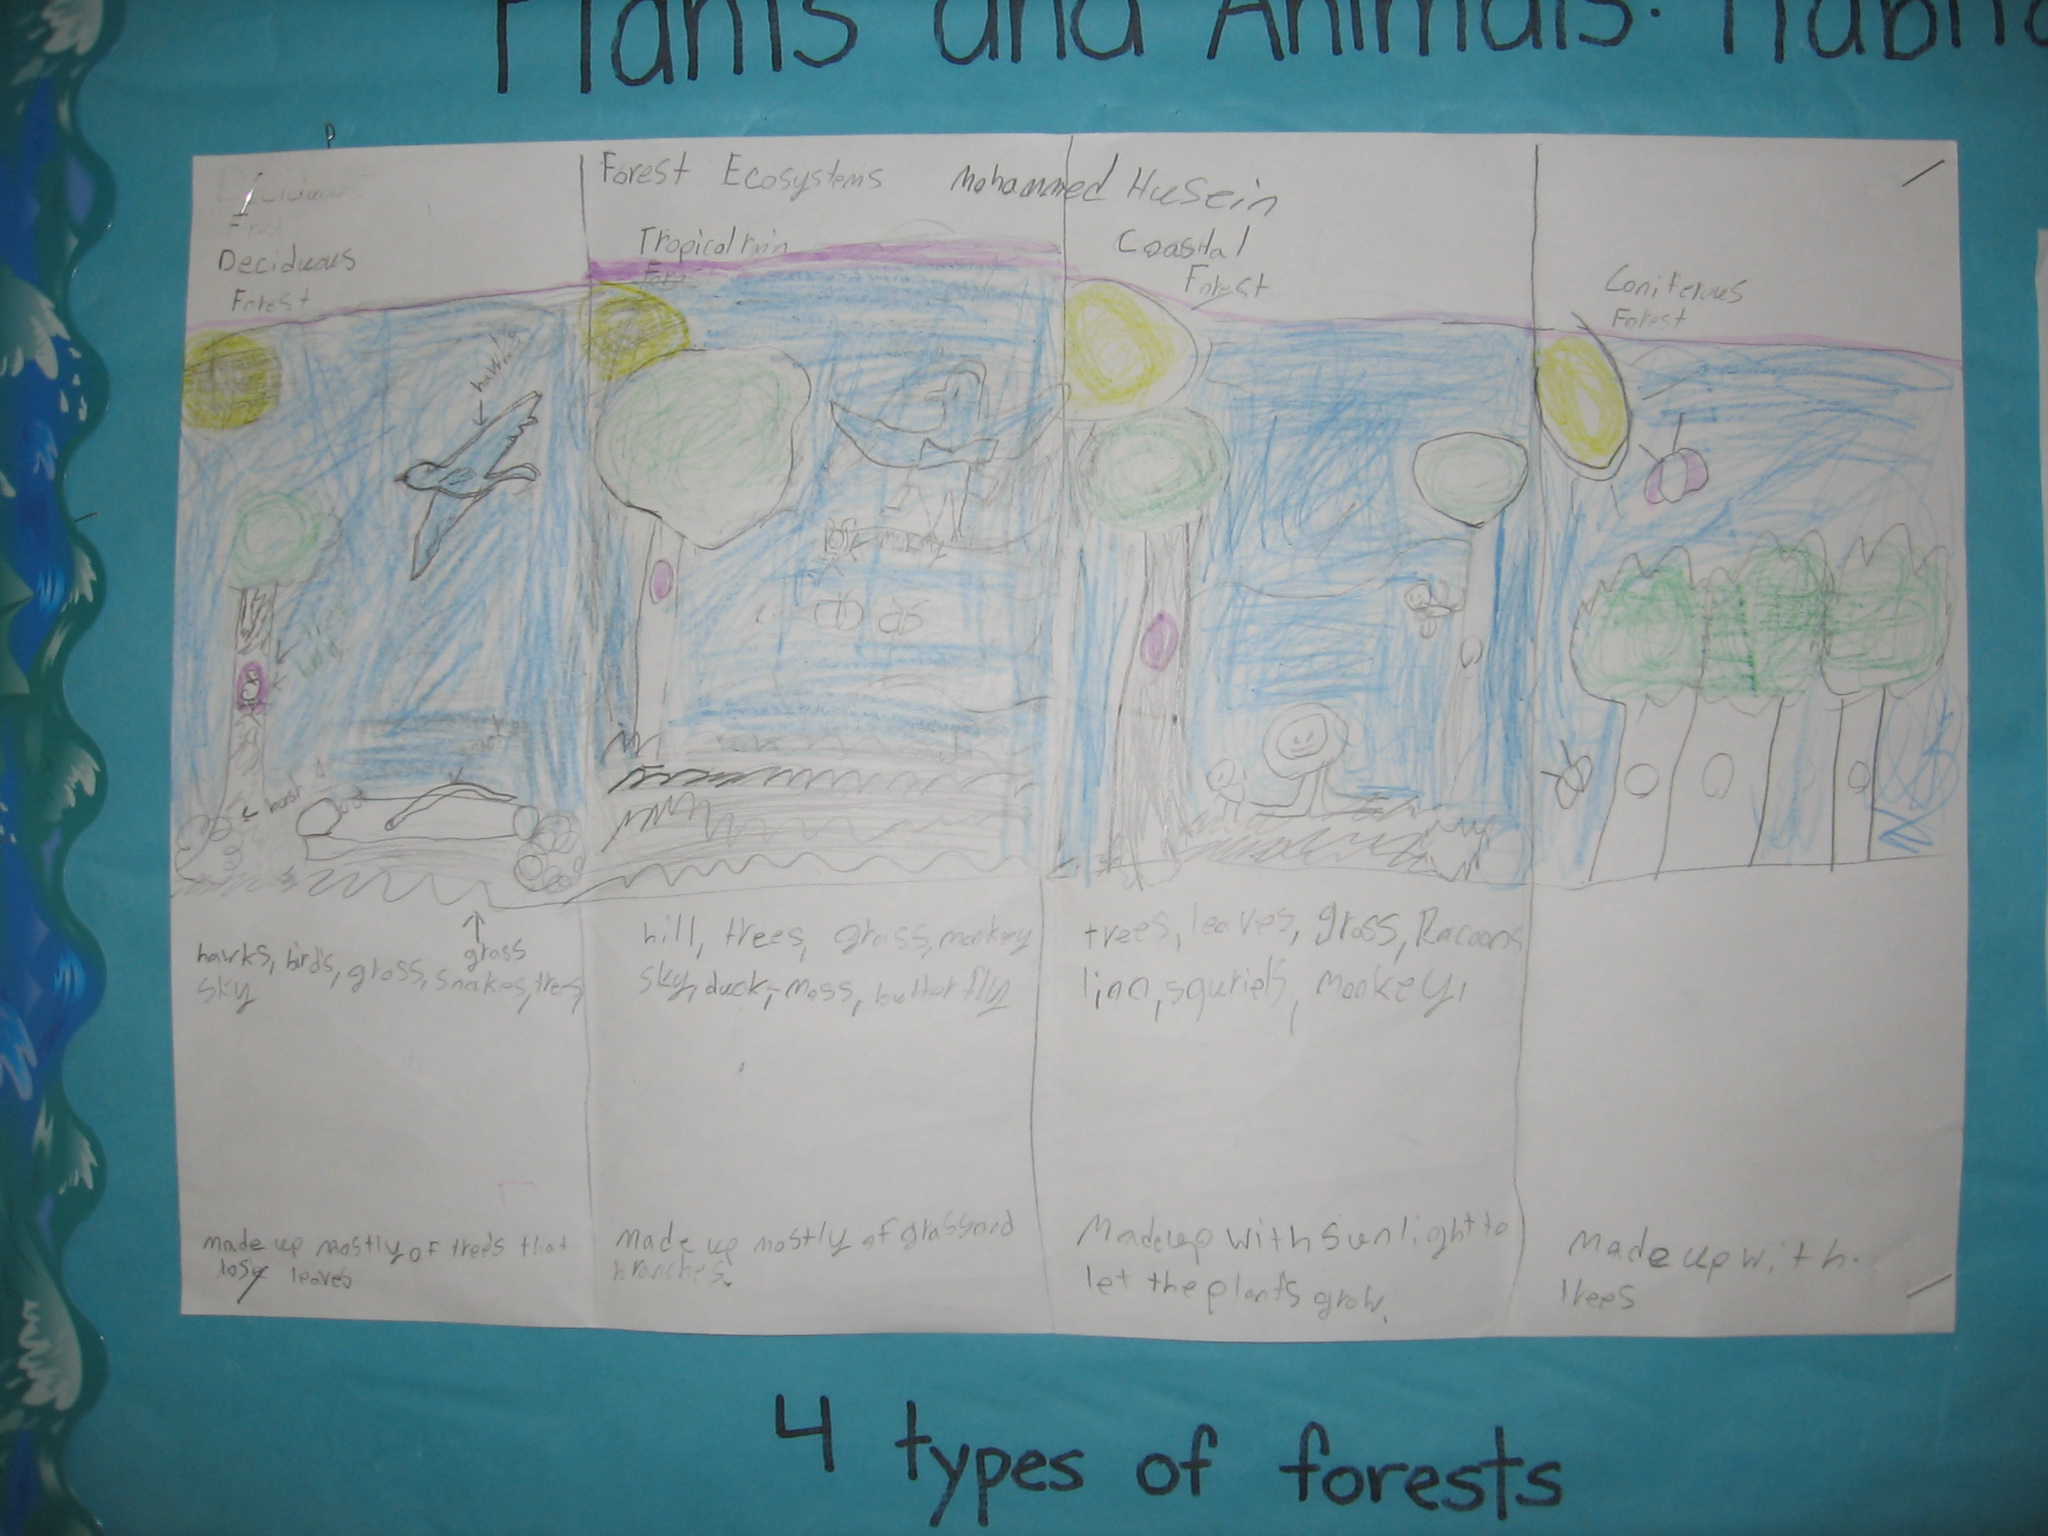
For each concept we learned, students completed a summary activity, most of which were simple foldables that I designed myself. For example, after reading about the types of forest ecosystems, students folded their papers into 4 sections. They labeled each section with a different type of forest, illustrated it, and wrote 2 facts.
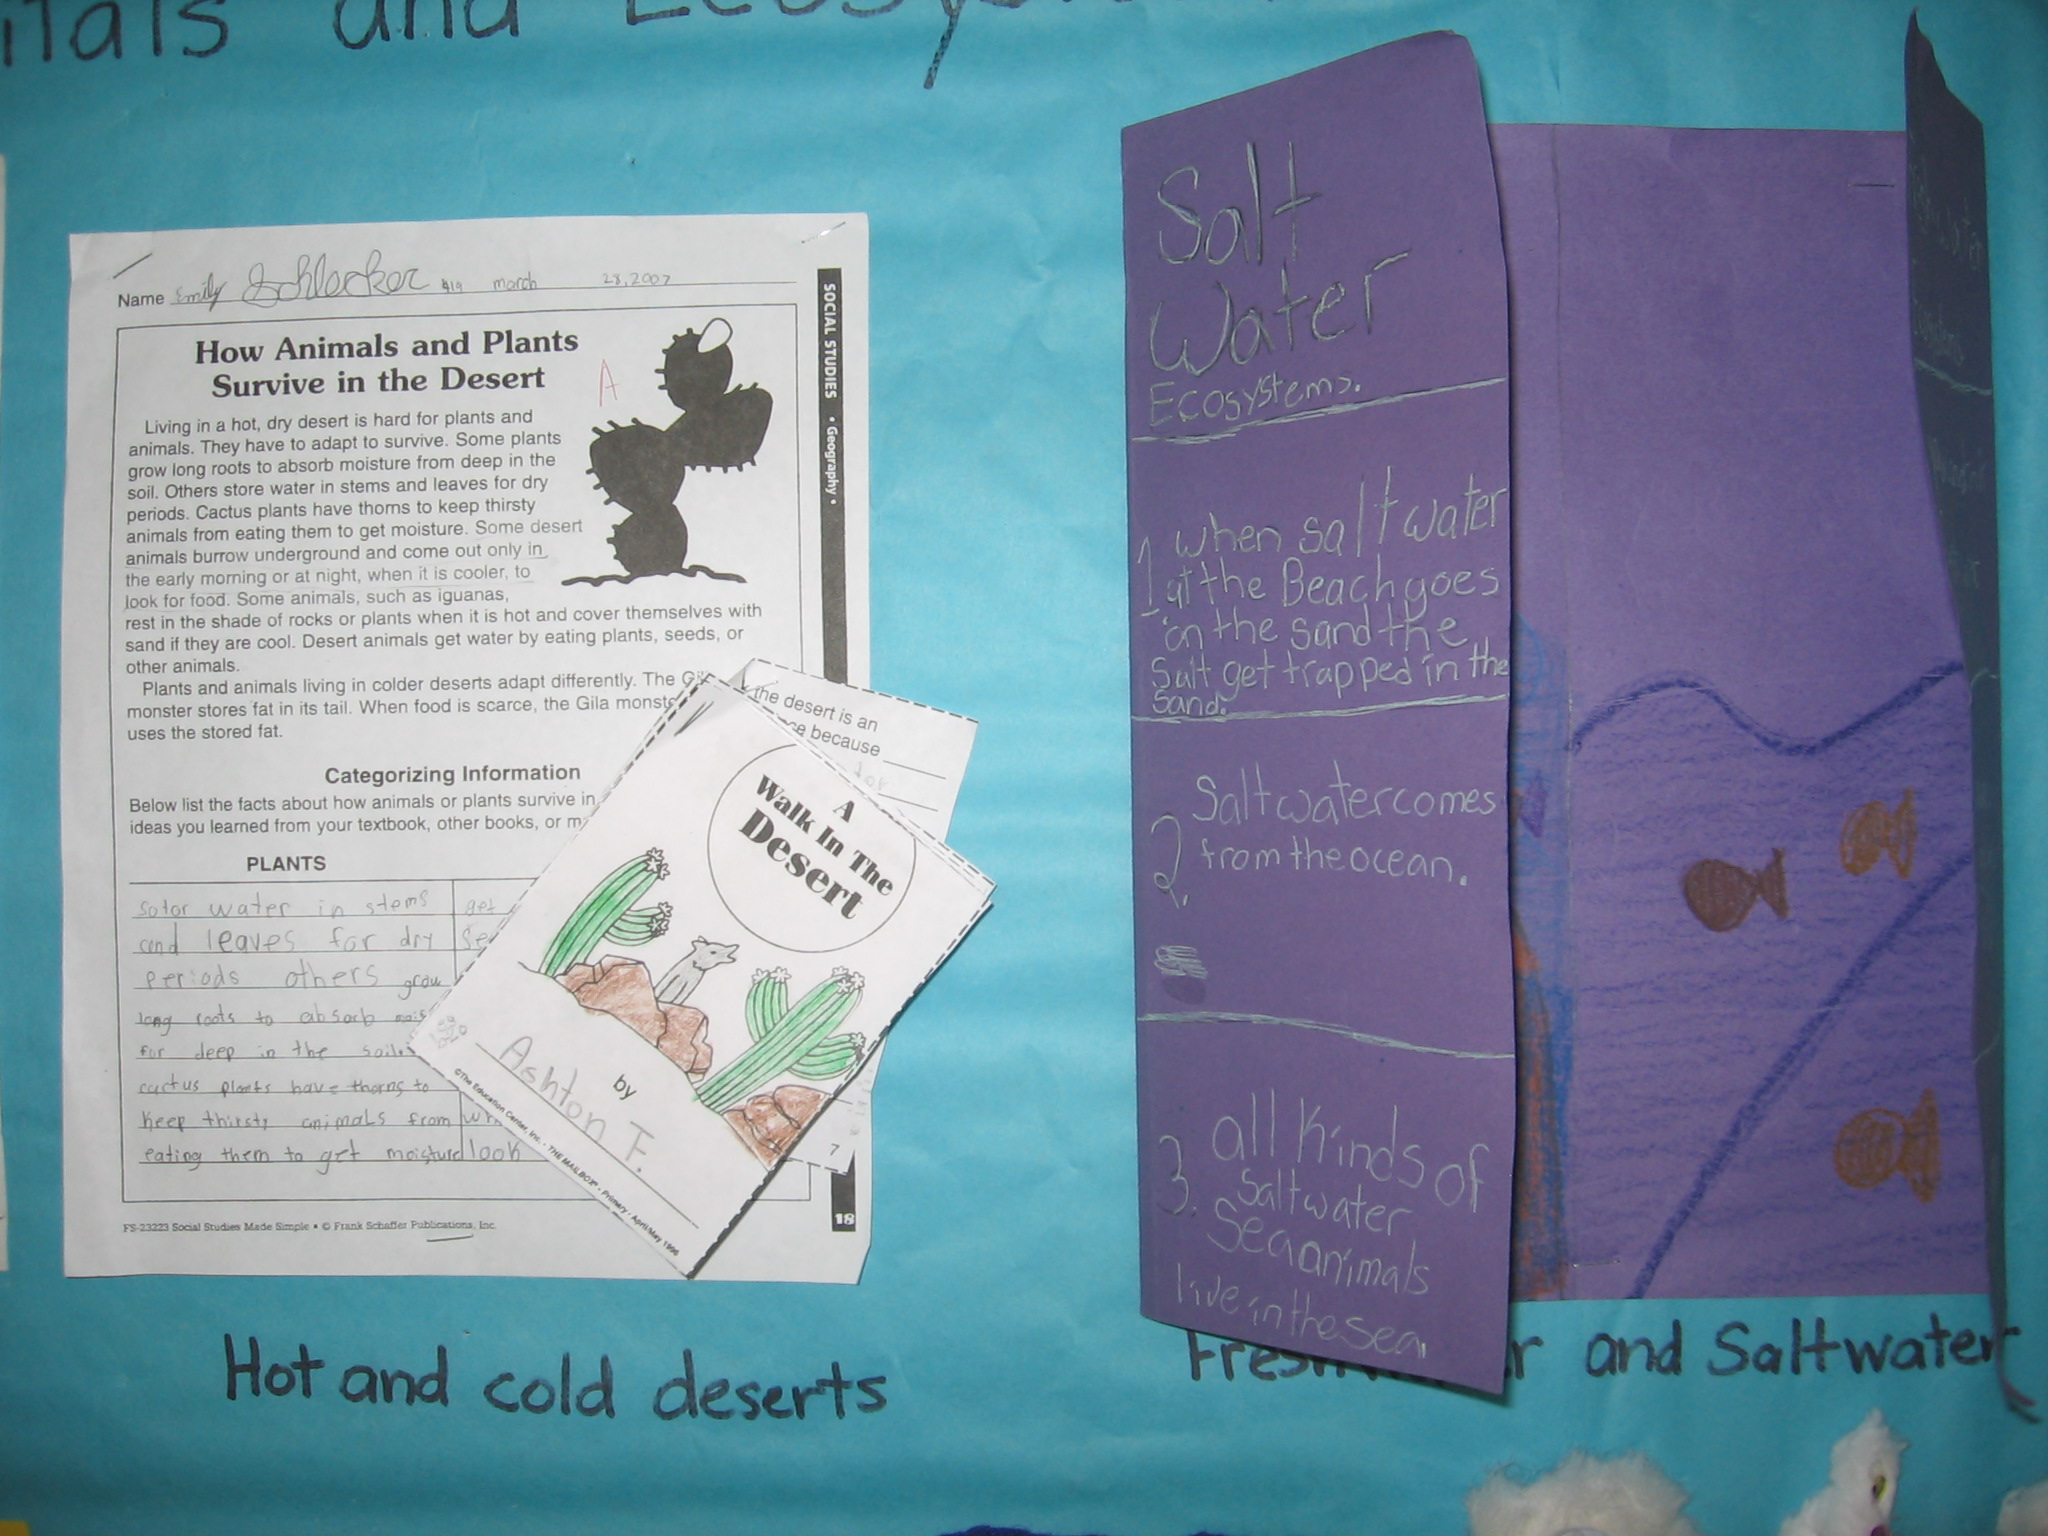
When we studied deserts, the children completed a worksheet that required them to categorize information from nonfiction text. Then they created a mini-desert book that included information about plant and animal adaptations. For water ecosystems, students folded a large blue piece of construction paper to create two flaps. On the outside of the left flap, they wrote ‘salt water ecosystems; and wrote 3 facts about them, and on the outside of the right flap, they did the same for freshwater. Inside, they illustrated each ecosystem, labeling the different depths of the water and including animals and plants that grow in each depth.
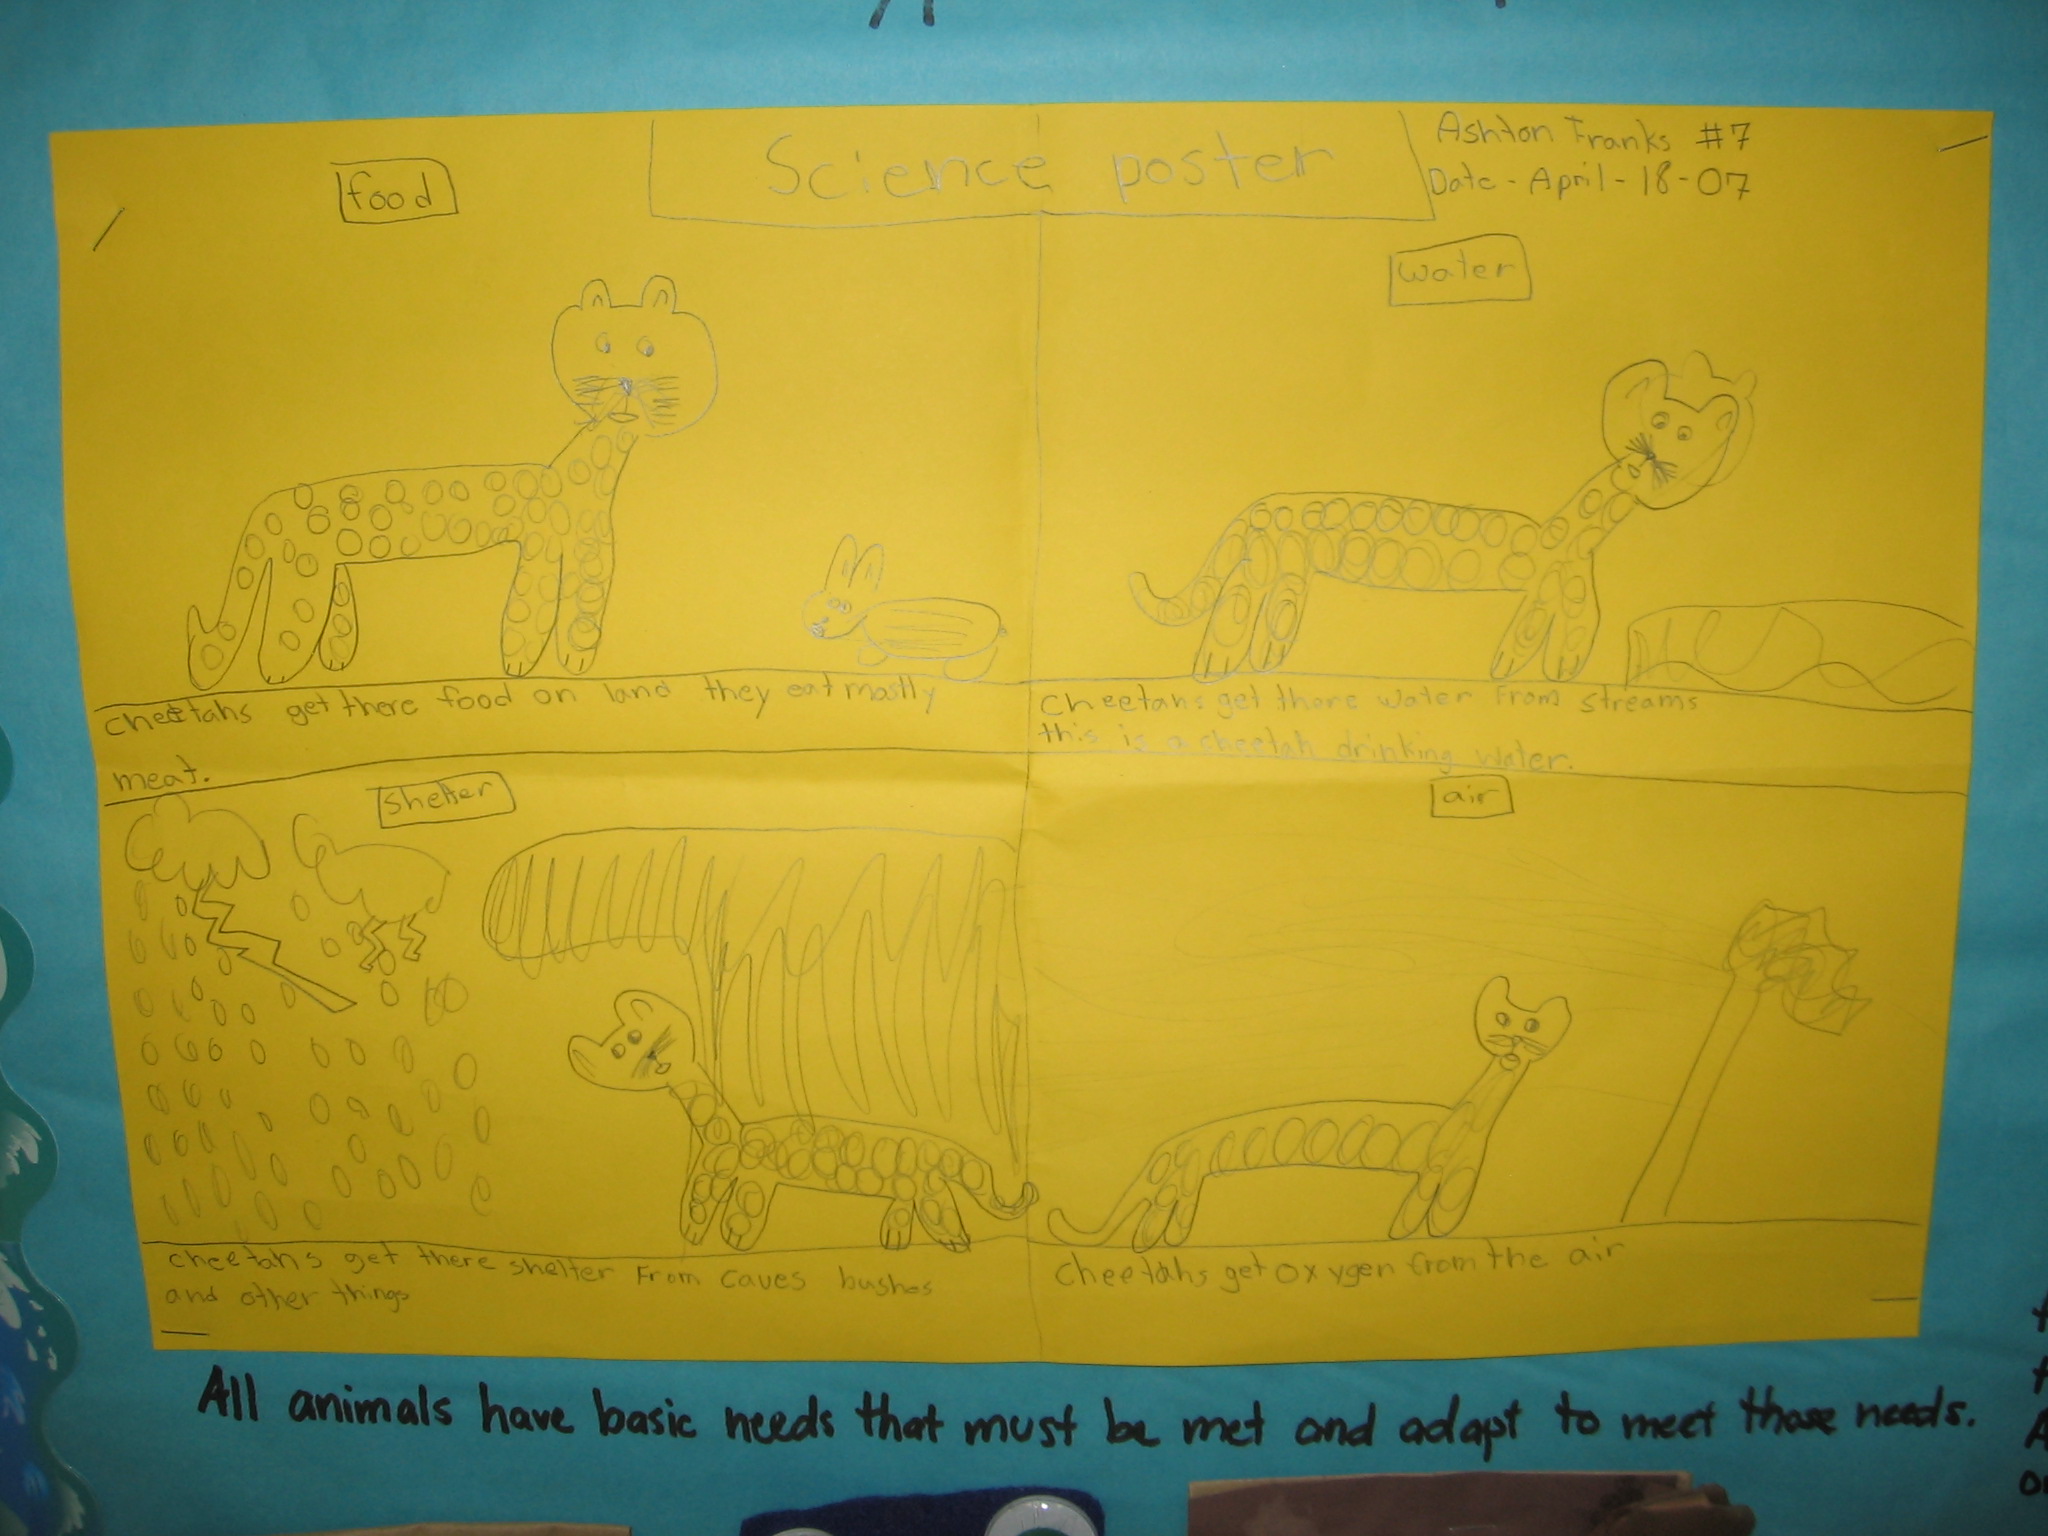
After brainstorming the basic needs of animals, students folded a paper into four sections and showed how a chosen animal meets those needs within its habitat. This child synthesized what he had learned about animal adaptations to create a chart for the cheetah.
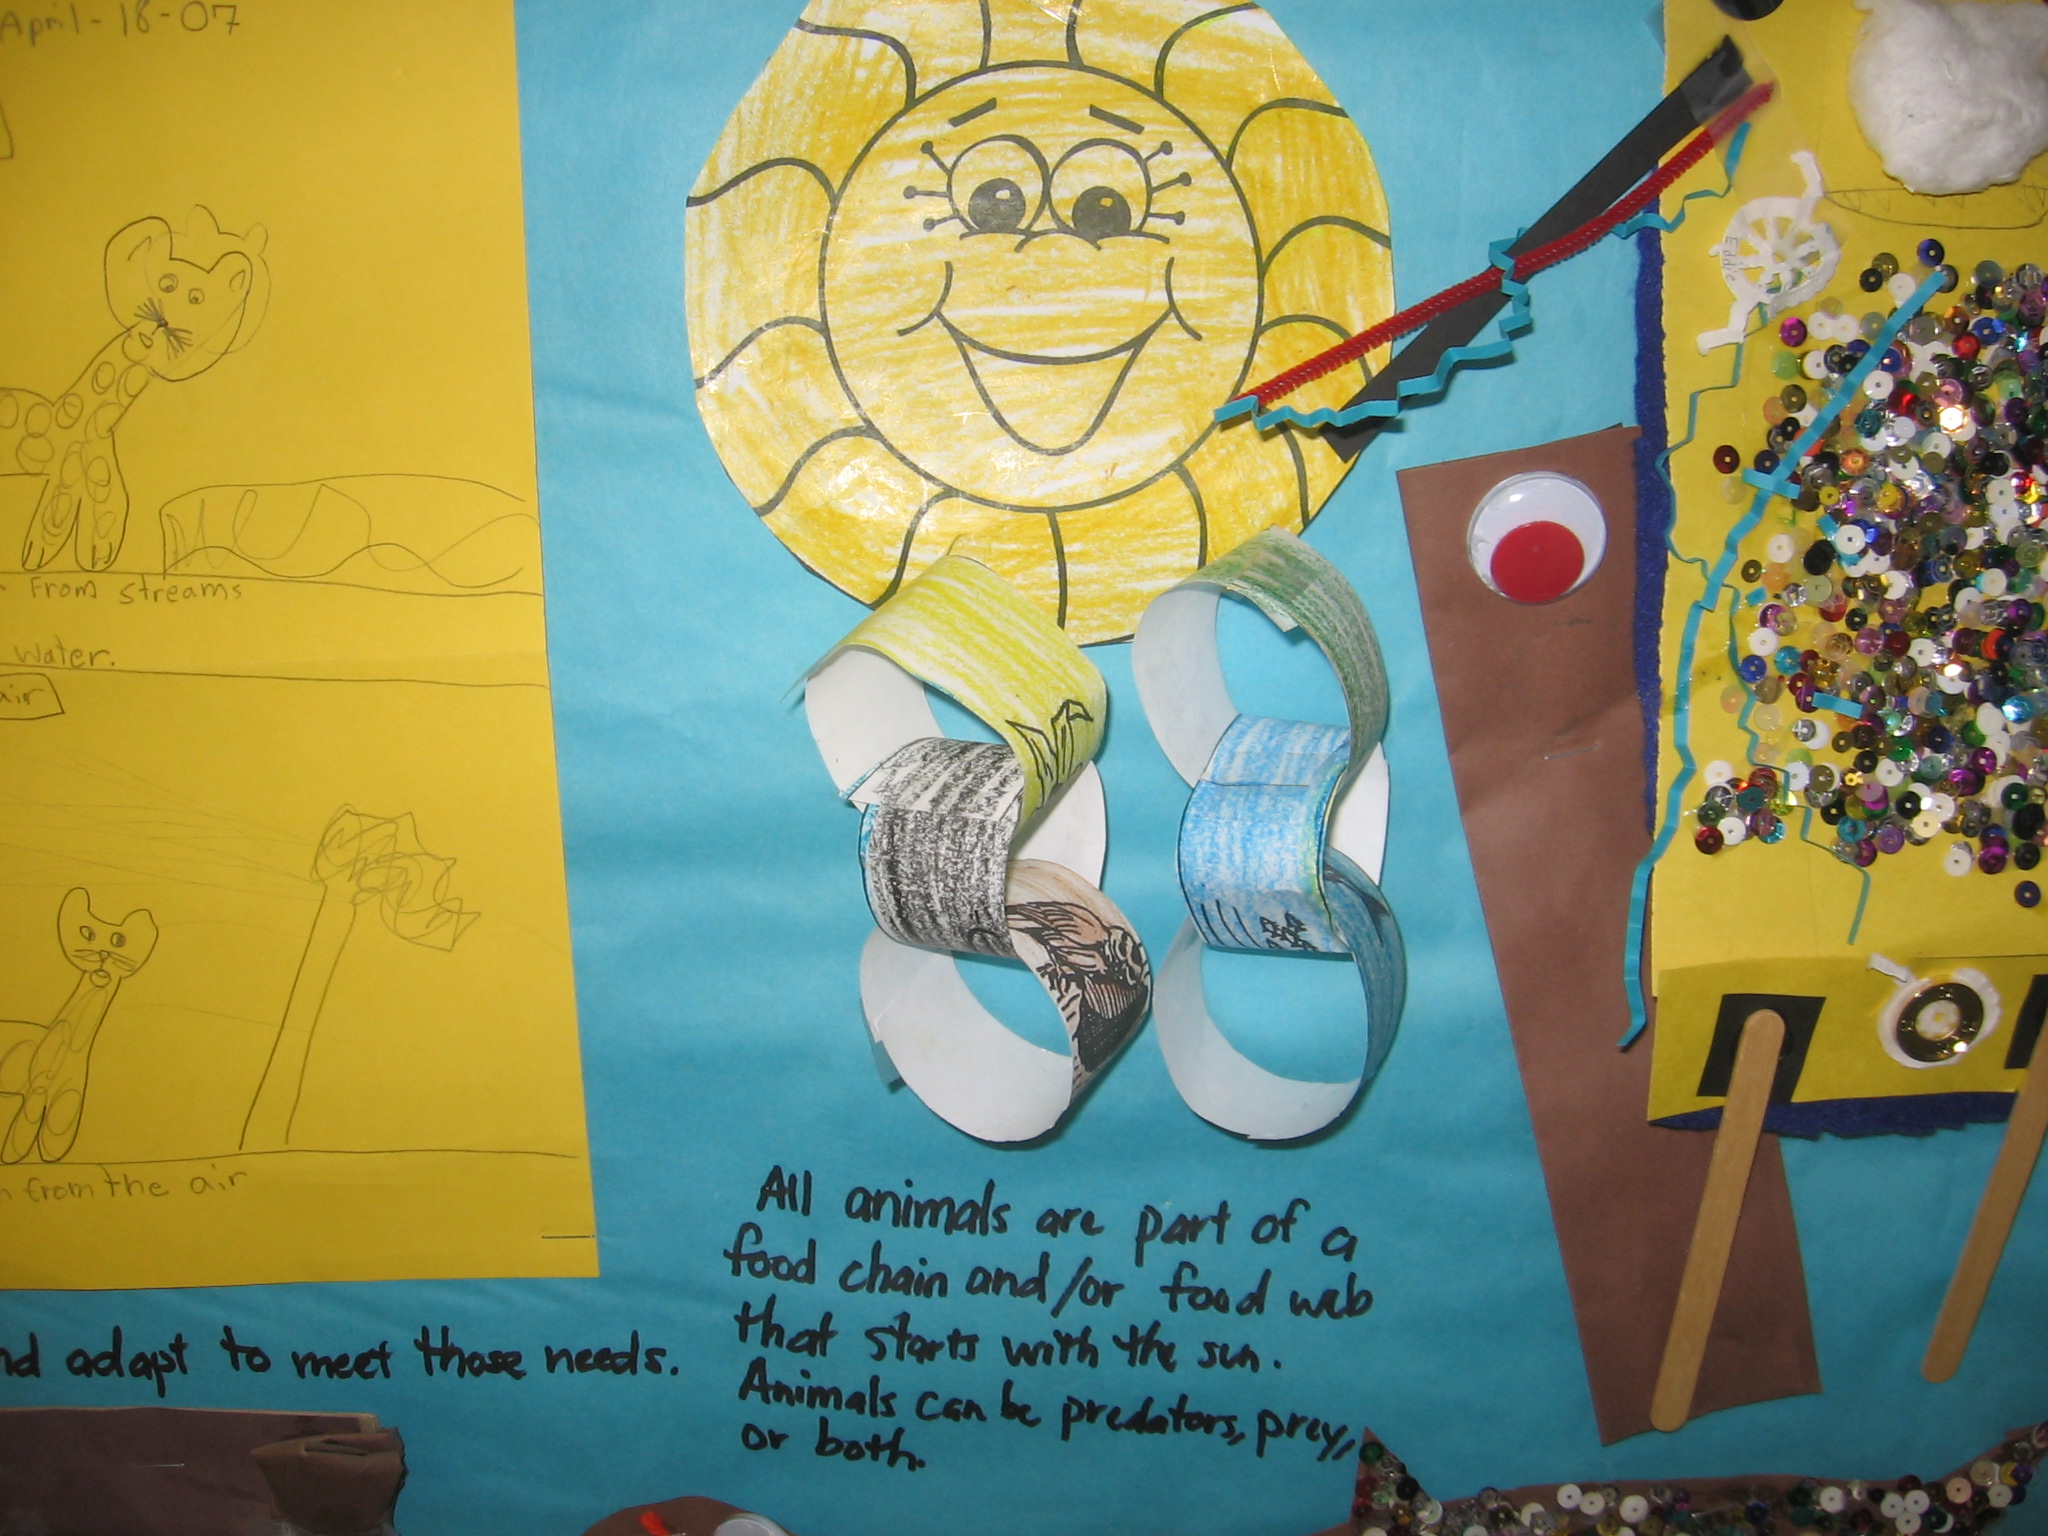
We also studied food chains and food webs. We did an activity in which we hunted for ‘prey’ outside (green, brown, and pink toothpicks in the grass). The class had 30 seconds to collect as many ‘prey’ as possible, and then graphed the results by color. We discussed and wrote about which colors were easiest to find and what the implications were for animal survival. Later, we created food chains that started with a picture of the sun and linked down (i.e., corn, rat, owl).
At the end of the unit, students designed their own ‘critter’ using art materials (you can see a bit of these to the right in the photo above, and more in the second picture on this page). They then wrote about their imaginary critter’s (real) habitat and how the animal adapts to its environment. They also determined the critter’s predators/prey.
So, there you have it! I supplemented our dry textbook/worksheet curriculum with some exciting videos I downloaded from United Steaming and the activities you see above. Some of the ideas came from books and websites, but mostly, I just thought about what I wanted my kids to know and designed the projects.
I encourage you to try these types of activities with YOUR classes—they’re not as difficult to create as you might think. The best part is that many can be reused with various units across all subject areas so once you come up with a great idea, you can adapt it to other things you teach and use it year after year.

Angela Watson
Founder and Writer
Sign up to get new Truth for Teachers articles in your inbox
Discussion
Leave a Reply
OR

Join our
community
of educators
If you are a teacher who is interested in contributing to the Truth for Teachers website, please click here for more information.


thank you so much for a great resource. I just wanted to let you know this link Mrs. Renz’ inquiry science resources is broken