
It can be tough to find time to integrate arts into an already overstuffed curriculum. So today I’ve invited an experienced elementary and middle school art teacher, Jenny Knappenberger of Art with Jenny K, to share one of her favorite ways to get kids creating and collaborating. Thank you, Jenny!
Teaching students with an art-infused curriculum is a sure-fire way to get students engaged and involved in their learning. We teachers are pretty savvy to this by now…witness the wide variety of art-infused offerings on websites like Teachers Pay Teachers and Pinterest. Administrators and curriculum writers know curriculum material but classroom teachers know kids ….and teachers know that kids like to “do” in order to learn. (If only they would listen to us, right?!).
Integrating the arts helps children solve problems, think creatively and critically, and to express themselves as individuals. Have you ever thought about how useful art integration can also be for fostering collaboration in your classroom?
Here is an example from my classroom.
Brown Bag Art Challenge
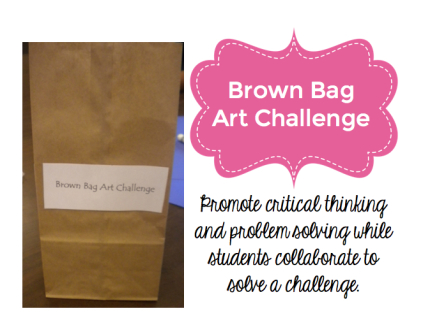
I designed a lesson called “Brown Bag Art Challenge” to challenge my students to create something while collaborating. Students were put into groups of about four kids. I even tried to pair up unlikely kids to let them work together–no BFFs! I gave each group a brown lunch bag with a “challenge” written on a paper that I put inside (the presentation of the challenge in the brown bag increased the students curiosity and established a lesson name that the students became familiar with).
In the bags were different challenges. Each group was asked to solve the challenge they were given using a variety of supplies I provided. If you have a large group of kids (I know–so sorry–of course you do!) it’s okay to give two groups the same challenge. It’s great for kids to see how different groups solve the same challenges.
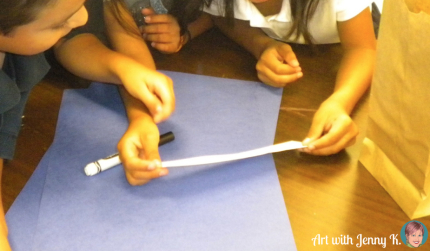
I set up a table at the front of the room that was full of miscellaneous art supplies like paper, rulers, scissors, tape, glue, markers, crayons and pencils. I did NOT put the supplies in the bags because I wanted students to decide which supplies they would need to complete their challenge. This is all about the kids –they have to read the challenge as a group, decide what they think it means and then choose the supplies that they want to use.
Let me show you the challenges I gave my students and you can see some of the pictures I took while they were creating.
Challenge #1: Using the supplies of your choice, make the longest line possible.
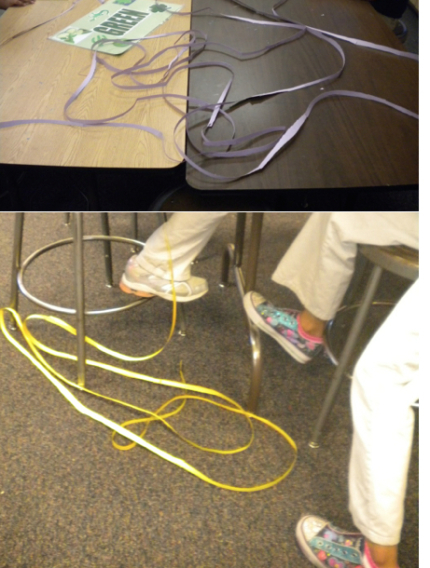
Challenge #2: Using the supplies of your choice, create the strongest bridge. Test it with several items such as a pencil, roll of tape, and other items you find around the room to be sure it is strong.
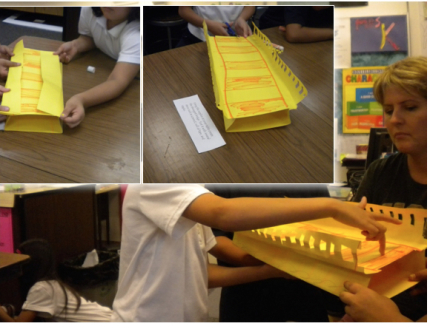
Challenge #3: Using the supplies of your choice, create the tallest standing tower. It has to be able to stand up on its own.
Challenge #4: Using the supplies of your choice, design a house that has 5 windows and 3 doors. The windows and doors must be able to open and close.
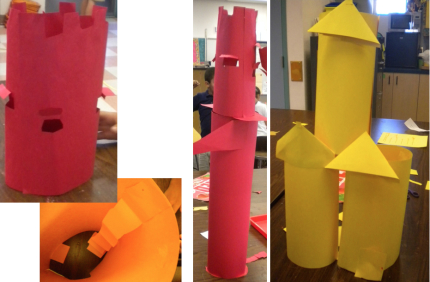
Kids will always add their own touch to things… like the kids who put the set of stairs inside of their house. The idea behind this challenge is to let the kids come up with the solutions and let them experience the process of solving a problem (challenge) that is given to them while working together as a team. It’s hard work but they can do it.
Redirect and reassure
Some students will get stuck and many might feel frustrated by the “open endedness” of this project–and that is the point…so don’t do the thinking for them. Redirect them to their group to help them solve the problems and reassure them that they can do it! Let them be frustrated if they need to… it’s okay. This isn’t about the end result, it’s about the way they work together and think through a problem, all while seeing it through to completion. Kids have such great ideas and this lesson will show them that we trust their judgemetn and decision making abilities.
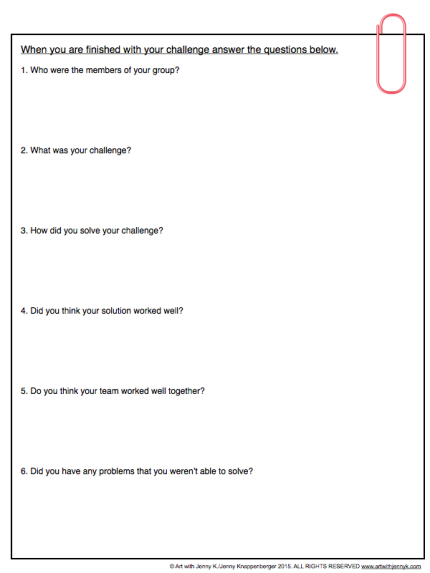
Inevitably groups finish at different times. I have individual students fill out this form when their group is done. Students enjoy reflecting on their work on this form and it’s a great place for students to feel like their individual voice is heard in the group setting.
So my challenge to you, the educator, is to try this lesson with your kids and watch in amazement as they solve these fun problems.
I have created this lesson in a pdf file as a FREE lesson for the readers of the Cornerstone blog. You can download it by clicking on the image below. Included are all of the steps, handouts and examples I have shared with you in this post. There are blank sheets that you can use to add your own challenge–mix it up depending on the grade level you teach. You can get started right away!
Than you for reading and for making art with your students!
Jenny K.

Angela Watson
Founder and Writer
Sign up to get new Truth for Teachers articles in your inbox
Discussion
OR

Join our
community
of educators
If you are a teacher who is interested in contributing to the Truth for Teachers website, please click here for more information.


I’m an art teacher and I think I will use this as an introduction to the opening of the 3D /Sculpture Center with my 3 and 4 th grades and then go into a skills lesson on attachments and let them have at it for the year!