I’m always on the lookout for great free tech tools for teachers, so I was excited when Wibki reached out to me about reviewing their site. Wibki is a completely free tool for saving and sharing your favorite websites, and it’s especially nice for teachers because it’s an easy and highly visual way to bookmark sites for students.
Here’s what Wibki is all about in 55 seconds:
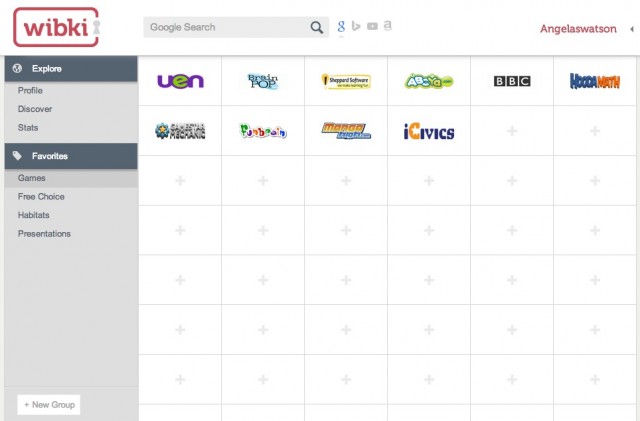
This is what students see when they navigate to the home page of the Wibki site I created. (It looks identical on the back end when I’m logged in, except I then have the ability to edit.) The sidebar on the left shows the different groups or categories I created for my favorite sites: Games, Free Choice, Habitats, and Presentations. Students would simply click on the group name and then the name of the site within the group that they want to visit.

Curating your favorite websites for students is a easy, quick, and intuitive process. Click +New Group to add a group, then click the plus sign in any cell to add a new site. Hovering over the groups and sites while logged in gives you the option to edit them. There’s even a setting to make a group of websites private, so if you want to bookmark some sites without students being able to see them (or to make the group “inactive” during times when they won’t need the group of sites), click the option to make the group private.
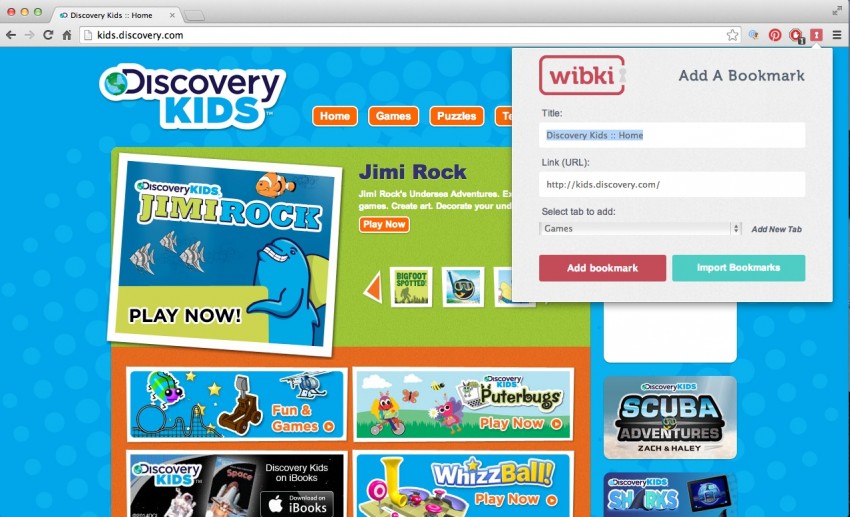
An even easier way to add sites to Wibki is through the free extension for the Chrome browser. You can see the Wibki icon in the toolbar of my screenshot below–it’s the red square all the way to the right. When I visit any webpage, I can click that button and the pop-up shown below appears on my screen.

There are so many different uses for this tool in the classroom, but here are three of my favorite ways to use Wibki with students:
1) Bookmark credible websites students should use to conduct research.
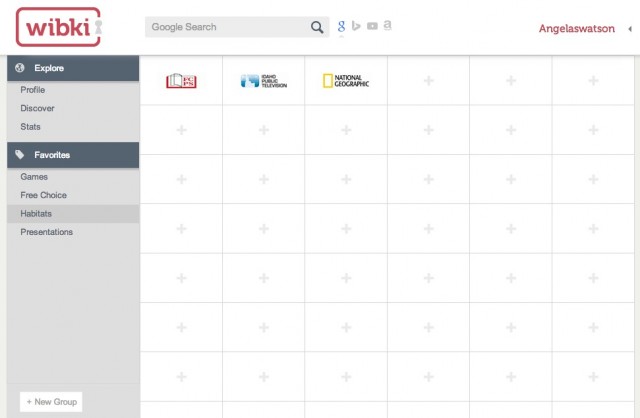
Elementary students and those inexperienced with internet searches may be overwhelmed by the number of search results they get in Google and have a tough time figuring out which ones are reputable. You can create a Wibki group with the name of the topic students are researching (such as Habitats) and bookmark a few kid-friendly sites you want students to gather information from.

2) Bookmark school-appropriate websites students are allowed to peruse during free choice time.
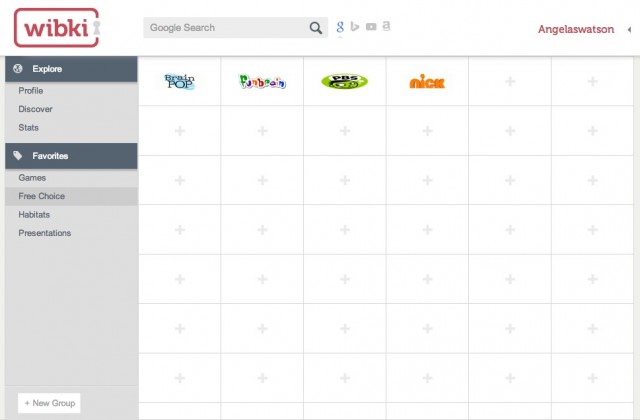
If your students go on the computers during indoor recess, at dismissal while waiting for their busses to arrive, etc., you might find that they constantly ask, “Can I go on ___? Are we allowed to go to ___?” Give students a number of approved fun websites they can visit by creating a Wibki group called “Free Choice.”

3) Bookmark various websites students can use to present information and show what they’ve learned.
I like to introduce one web tool or app at a time to students and give them a chance to become familiar with it. As the school year progresses, I begin to offer them a choice between various tools: “Share 3 things you think our community needs to understand about recycling. You can use Glogster to create a digital poster or Voicethread to explain your thinking with pictures and words.” As students experiment with different tools, bookmark each one in Wibki under a group called “Presentations.” Then direct kids to the group whenever they need to present and allow them to select the tool they prefer for the task.

You can visit Wibki.com to create your account and start bookmarking. Or, check out this blog post to see examples of how Wibki is being used in other classrooms.
Disclosure: Wibki has compensated me for the time I spent checking out their siteand writing this review. All opinions are mine. I only recommend products and services that I would use myself as a teacher and that I feel confident about recommending to other educators.

Angela Watson
Founder and Writer
Sign up to get new Truth for Teachers articles in your inbox
OR

Join our
community
of educators
If you are a teacher who is interested in contributing to the Truth for Teachers website, please click here for more information.


